Adjusting Korrector™ takes only a few minutes but we recommend that if you are using the system for the first time you ask someone to hold your horse whilst you familiarize yourself with the fitting process.
Step 1
Attach the saddlecloth to the saddle by pushing the gullet locking plate up into the saddle’s gullet and rotating it through 90o, so the plate lies between the top of the saddle’s panels and the tree/seat.
Step 2
Place the saddle and with the attached saddlecloth on the horse in the normal way, girth up and mount. Do not tighten the girth at this stage else any adjustment made will not effect the saddle but just make the girth even tighter!
Step 3
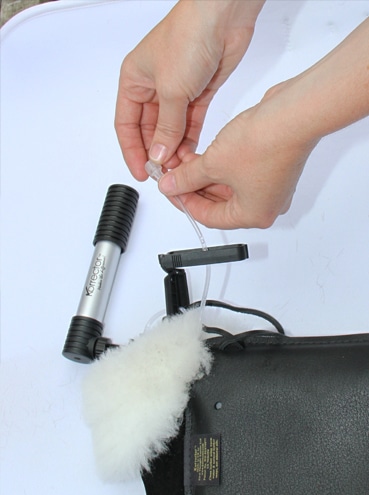
Remove the pipes from the saddlecloth pocket. The pipes are positioned according to placement in the Korrector. For example front pipe for front air bag.
Step 4
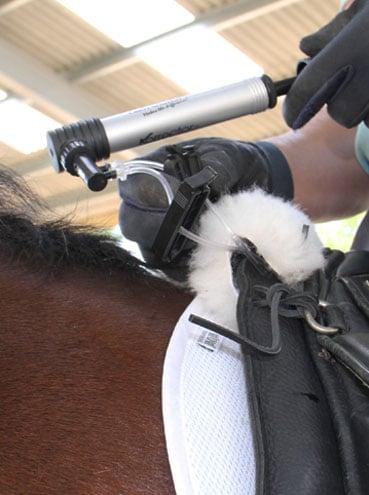
If you are using all four air bags, adjust the front (FR & FL) air bags first. To do this unscrew the pipe caps and connect both pipes to the valve and pump
Step 5
Using the pump inflate the front bags to achieve the desired fit.
If you need to remove air from the bags first remove the pump from the valve and then depress the small pin in the valve inlet with your nail.
When you are satisfied with the fit, clamp both pipes with the sealing clips.
Step 6
When the pipes are clamped you can remove the valve and replace the pipe caps without loss of air.
Tip Count the number of pumps you use it will help you gauge any differences your horse has between adjustments.
Step 7
Repeat the process for the back bags (BR & BL) if you are using them in the saddlecloth. Inflate the back bags until you are sitting straight and centered in the saddle neither tipped forward or back.
Remember the back bags can be used for rider balance side to side by inflating one bag more than the other, see note 1
Step 8
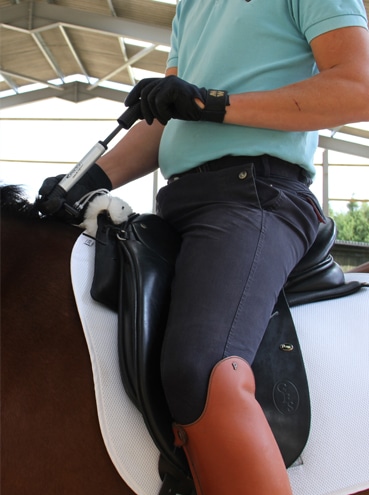
Most horses lift through their backs to the greatest extent when at trot. Accordingly, you will get the greatest benefit if you can find the optimum position for yourself at trot.
To do this experiment by adding air gradually, 2 – 4 pumps at a time and then riding at sitting or rising trot. You will soon notice the difference in your balance.
Find the inflation that allows you to relax with the saddle supporting you and your feet stable under your center of balance. This will really help your riding and the horses performance. Balance is important in all disciplines not just dressage. If you count the number of pumps used you can set Korrector™ up very quickly off the horse!
Note 1
If you wish to inflate a single air bag more than its’ pair, use one of the sealing clips to clamp closed the pipe of the bag that you do not wish to inflate.
Asymmetric adjustment is useful for balancing the saddle for an asymmetric horse and or a crooked rider.
For the rider, always inflate the side the rider sits heaviest on or feels that they fall towards.
The horse normally requires adjustment of a front bag in conjunction with the opposite back bag.
Note 2
It is not necessary to inflate the front and back air bags to the same degree.
Note 3
The air bags should not be inflated so that they are bouncy or hard. If you find that you have to inflate to this extent to make the saddle fit, the system will not work.
Note 4
If you are using the pad for its’ shock absorbent properties and your saddle fits, it is suggested that you will find the optimum inflation to be between 12-24 full pumps using the pump supplied i.e. because you are inflating both bags at the same time this equates to 6 -12 pumps per bag.
The picture shows a front bag inflated with 12 pumps, it does look flat, it is meant to be!